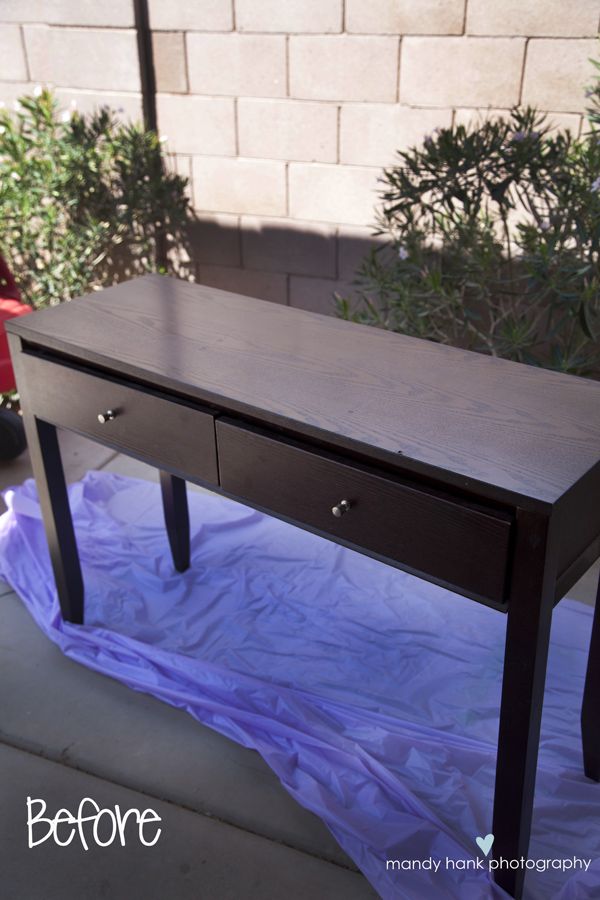
I bought this console table from Target years ago. And it served a great purpose but I started resenting the color. I wanted a piece in my living room that had a little more character to it. All my furniture was starting to be too matchy matchy, so I got this little creative bug in my brain and decided to paint it. Of course telling my husband about what I was going to do made him less than thrilled. I wish he would just trust me when I tell him I want to paint the furniture :)
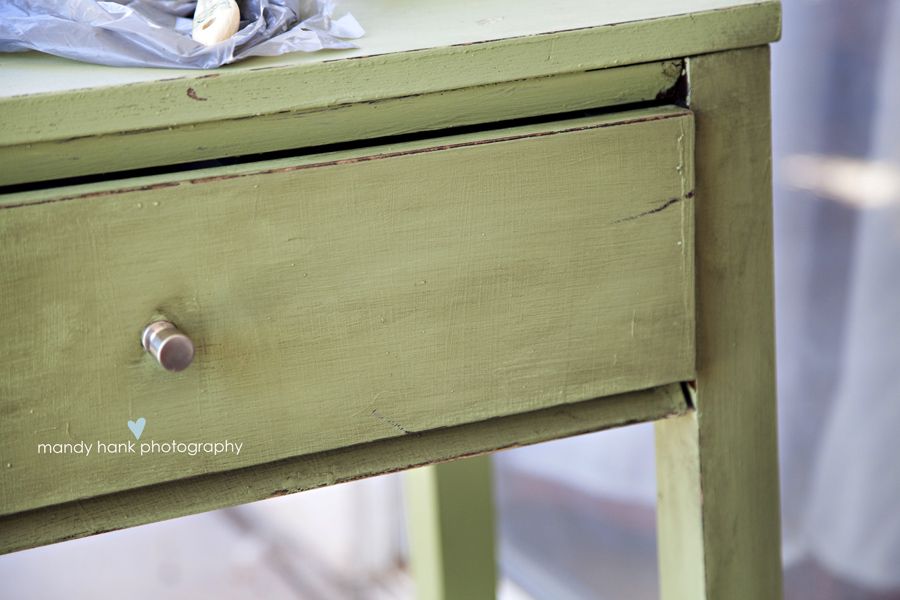
Here is the sad little before picture.... :(
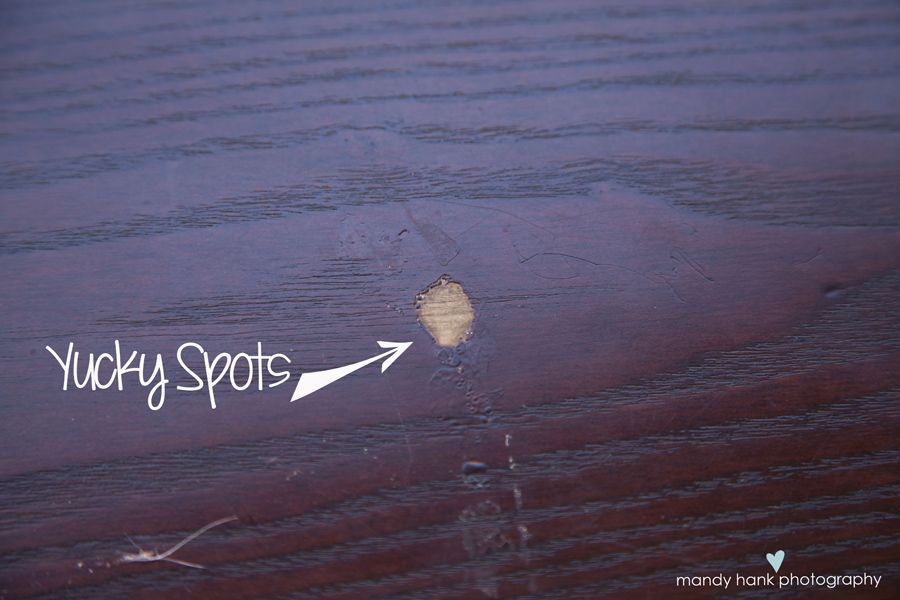
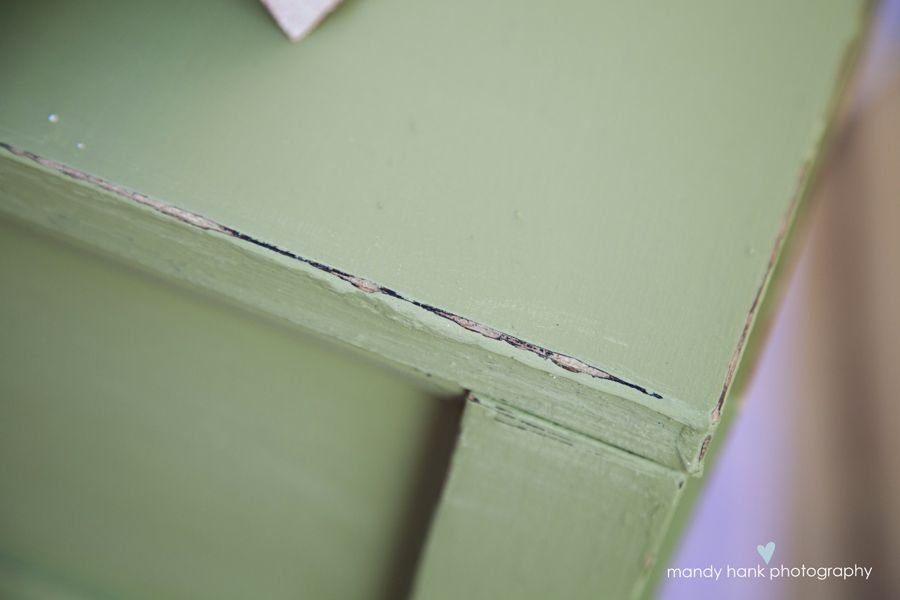
I had dropped some oil on the table a few years ago and it literally rubbed the paint of the wood right off. I tried to cover it with picture frames and stuff but they just kept staring at me like a flash light.
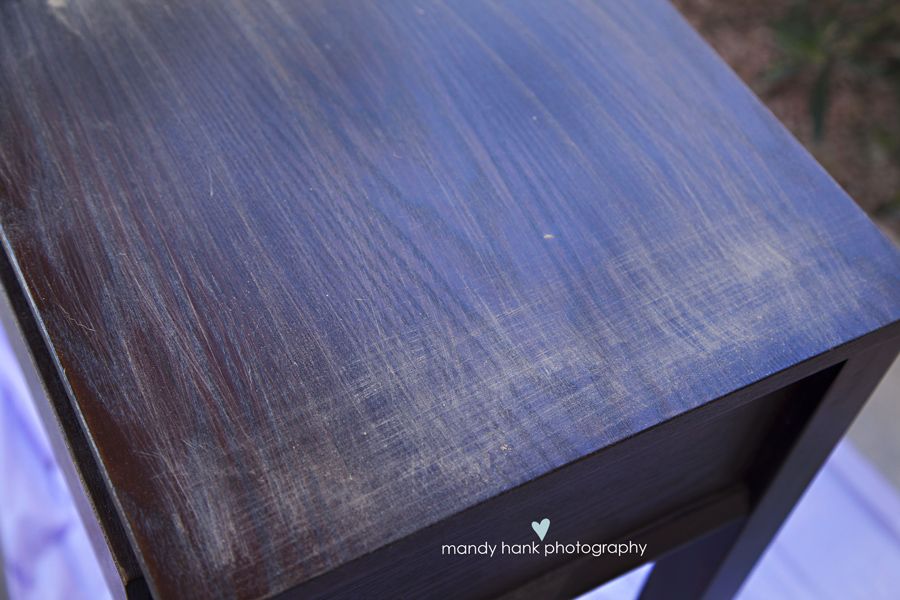
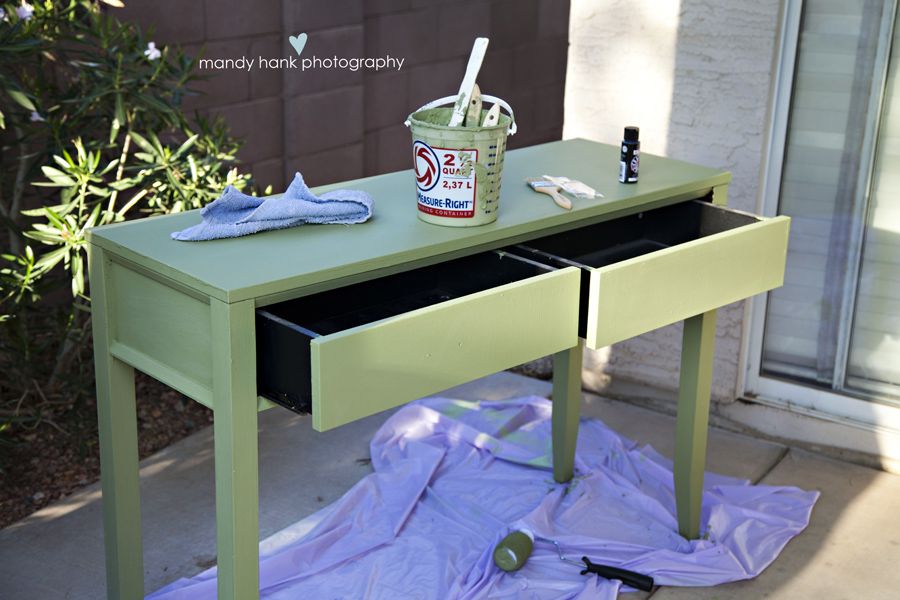
I decided to try the chalk paint mixture first since I had never used it before. So I first started with sanding the table. Really lightly. I think the chalk paint is designed to eliminate the step of sanding but since I had never done it before I just wanted to be safe.
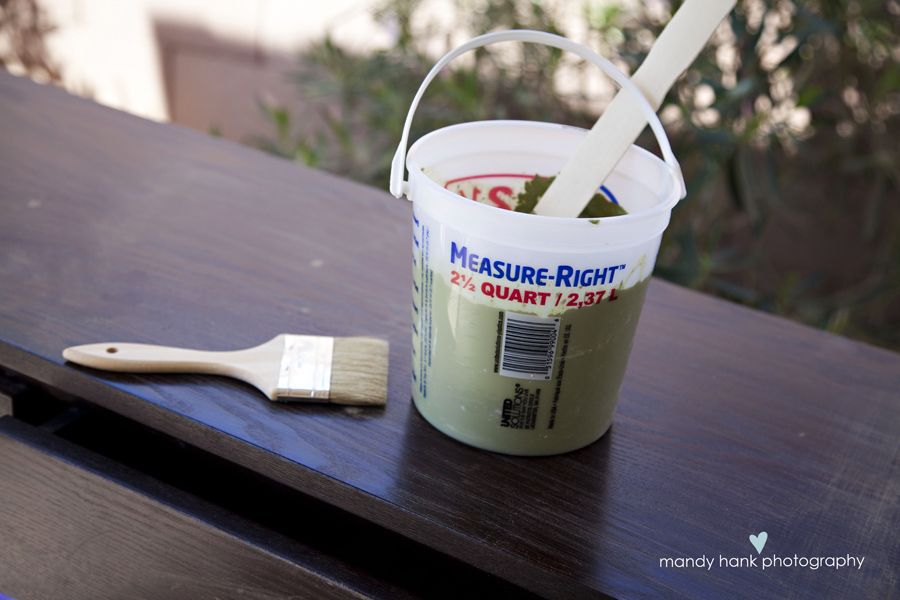
Next came the mixture. I used a quart of Valspar Ultra Paint + Primer in a Satin sheen. I picked Garden of Paradise. Adorable color!!
I also picked up some Plaster of Paris from Michael's to mix with the paint.
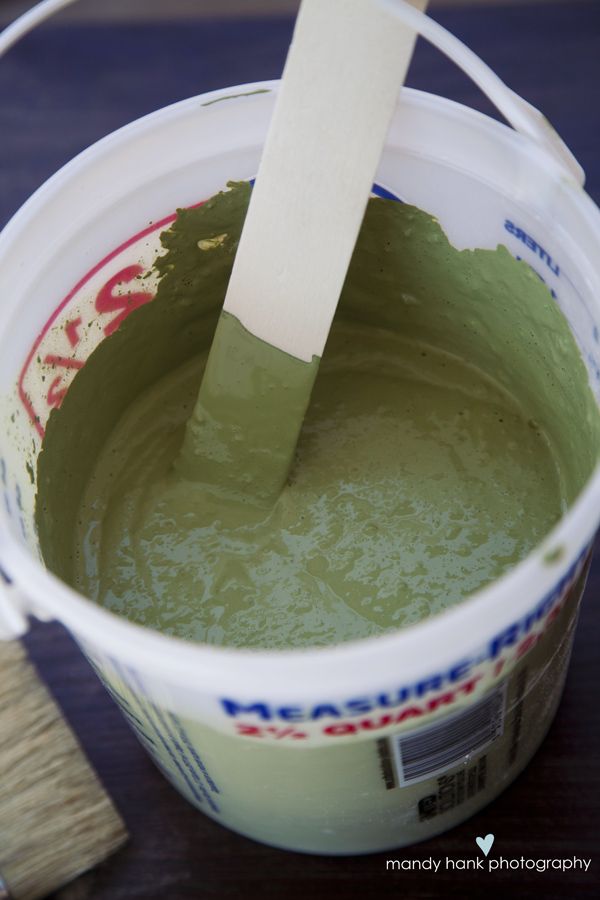
I used a big mixing tub and I mixed 2 cups of paint, 5 tbs of plaster and 2 tbs of water. The secret is really really really mixing the paint up. Mine left some bubbly things on the table as I painted. But again it being my first time I kind of over looked them. I was able to scrub off a lot after it dried, but mixing it really well first would cut down on the step.
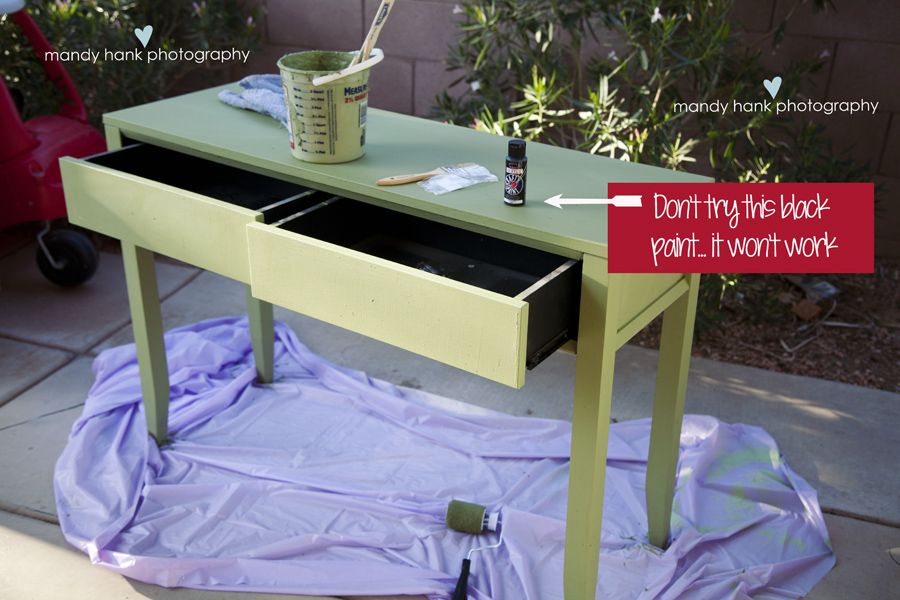
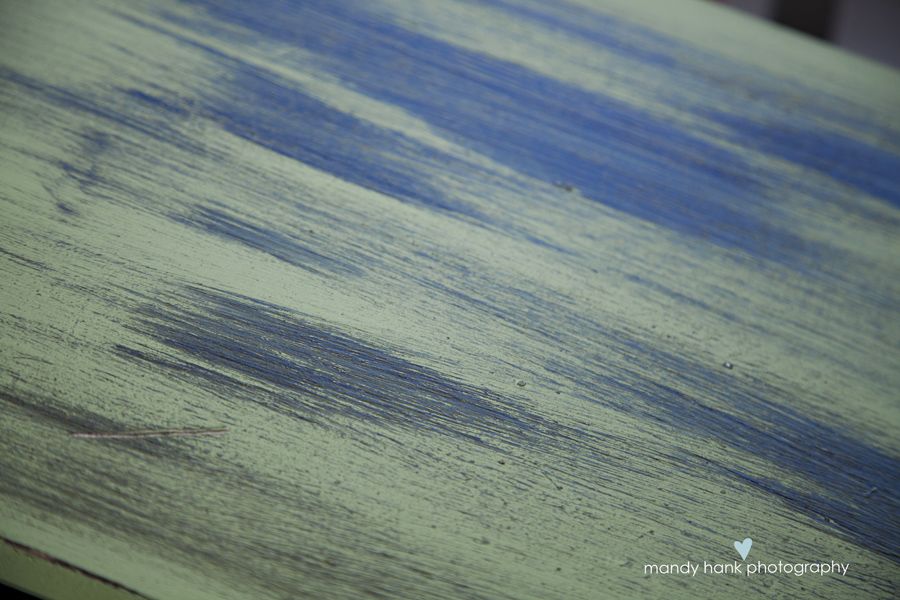
I wanted this table to have a nice distressed feel to it and my first thought was as much as I loved the color it was too bright for me. It needed something else. So I tried to paint a few areas lightly with some left over black paint I had and it wasn't the look I was going for. It was too harsh.
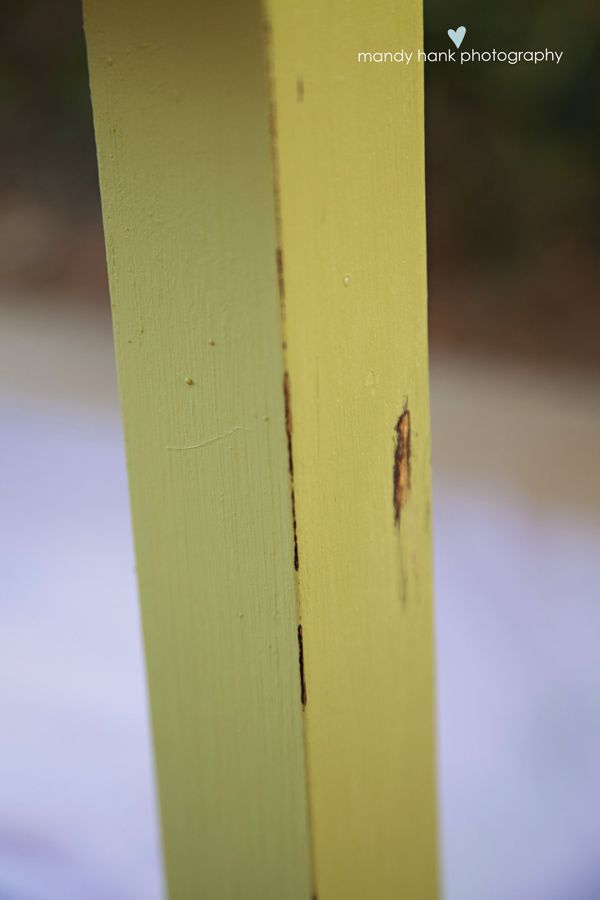
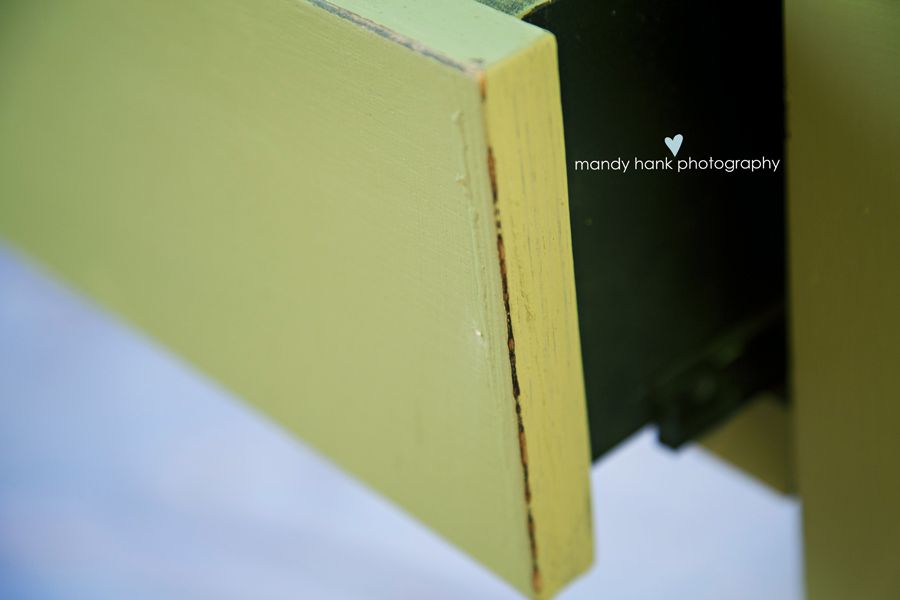
Next up I took the sander and had some fun!! I roughed up the edges and a few spots on the table. It was a lot of fun but I highly recommend using safety glasses. I learned that the hard way.

After searching around I found the best thing ever!!! Valspar Antiquing Glaze- OMG! Holla!! Loved this product, it was exactly what I needed to finish the table and it was so easy.
The great thing about this product is you don't have to be precise. You can make it look like you want and there is no way you could really screw it up. That I loved. You take an old paint brush, brush a little on and wipe off with a towel. It works best when the brush is pretty dry. It was exactly what I needed!
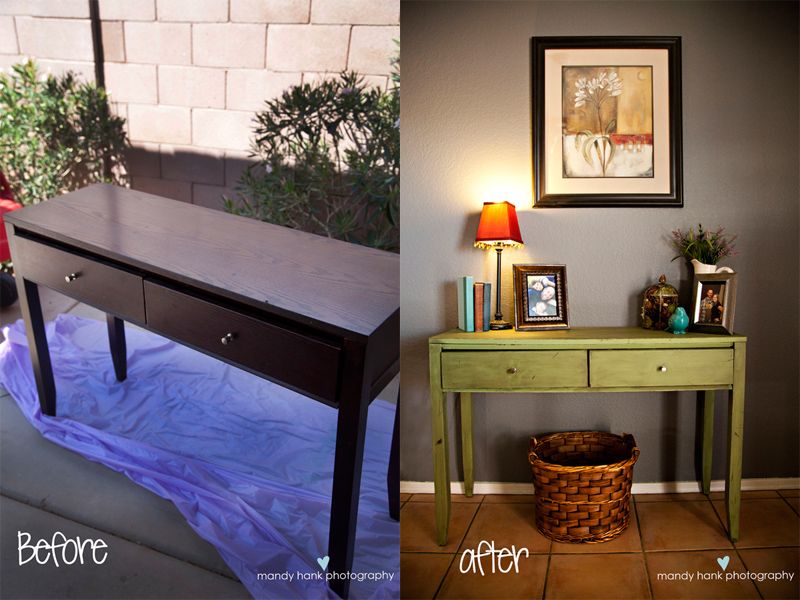
Here is the finished look. I love this table. It looks really old like it's been in our family for years and it brought so much character to the room!!!
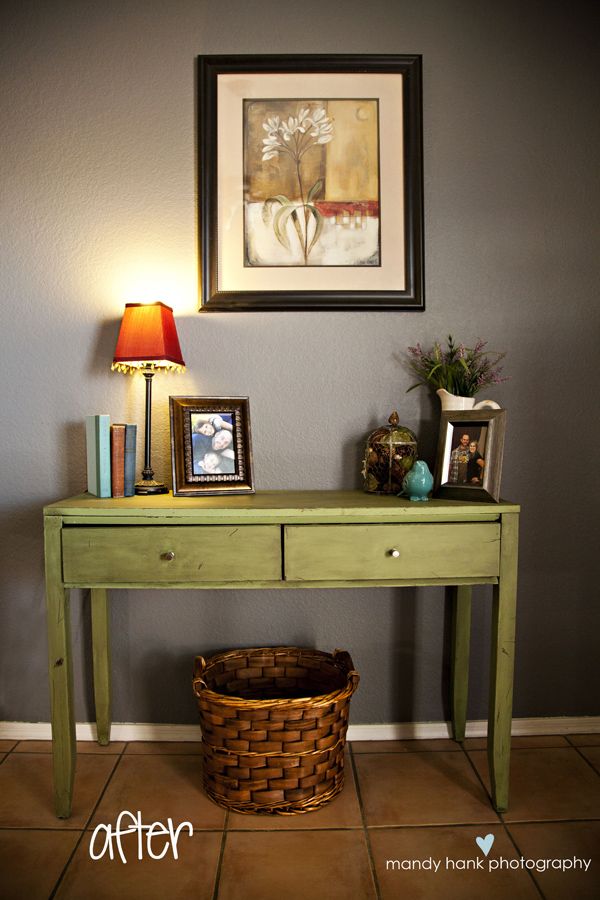
Here is another before and after shot.... what do you think?
I have some more projects I am working on and can't wait to use this glaze!! Stay tuned!


No comments:
Post a Comment